Mastering Common Repair Techniques for Medical Ultrasound Equipment
Last updated: August 3, 2026
⚠️ Safety Notice: This guide assumes you are a qualified biomedical technician with appropriate training. Ultrasound systems contain high-voltage capacitors (up to ±100V rails), sensitive ESD components, and ionizing radiation is not involved — but electrical shock, burns, and equipment damage are real risks. Always discharge capacitors before handling PCBs, wear an ESD wrist strap, and verify electrical safety (leakage current <100 µA) after any repair. If you are unsure about a procedure, consult the OEM service manual or contact a certified service provider.
Medical ultrasound equipment plays a pivotal role in diagnostic imaging, relying on precise piezoelectric transducers to generate and receive high-frequency sound waves. However, these devices are prone to failures due to intensive use, environmental factors, and component wear. This article provides a professional overview of the most common repair techniques, equipping technicians with systematic approaches to restore functionality efficiently.
This guide walks through the full repair workflow — from initial diagnostics to post-repair calibration:
- Section 1: Systematic diagnostic procedures — visual inspection, BIST tools, and external instrumentation
- Section 2: Transducer and probe repair — cable fractures, acoustic lens delamination, and dead element recovery
- Section 3: Power supply and PCB troubleshooting — capacitor aging, solder joint fatigue, and RF amplifier testing
- Section 4: Software recovery, recalibration, and preventive maintenance schedules
- Section 5: Key takeaways and a practical maintenance checklist
Initial Diagnostic Procedures
Effective repair begins with accurate diagnosis to identify root causes without unnecessary disassembly. Technicians should start by verifying power supply integrity and conducting visual inspections for physical damage, such as cracked housings or loose connectors.
Utilize built-in self-test (BIST) functions or service menus accessible via the system's keyboard shortcuts. These tools generate diagnostic reports on transducer performance, signal processing, and image artifacts.
Employ external tools like oscilloscopes for signal waveform analysis and multimeters for continuity checks. Document findings systematically to guide subsequent repairs.
Before proceeding to disassembly, verify these three baseline checks:
- Check DC power rails for voltage stability (±5% tolerance).
- Inspect cooling fans and thermal sensors for overheating indicators.
- Run phantom tests to quantify image quality degradation.
Transducer and Probe Repair Techniques
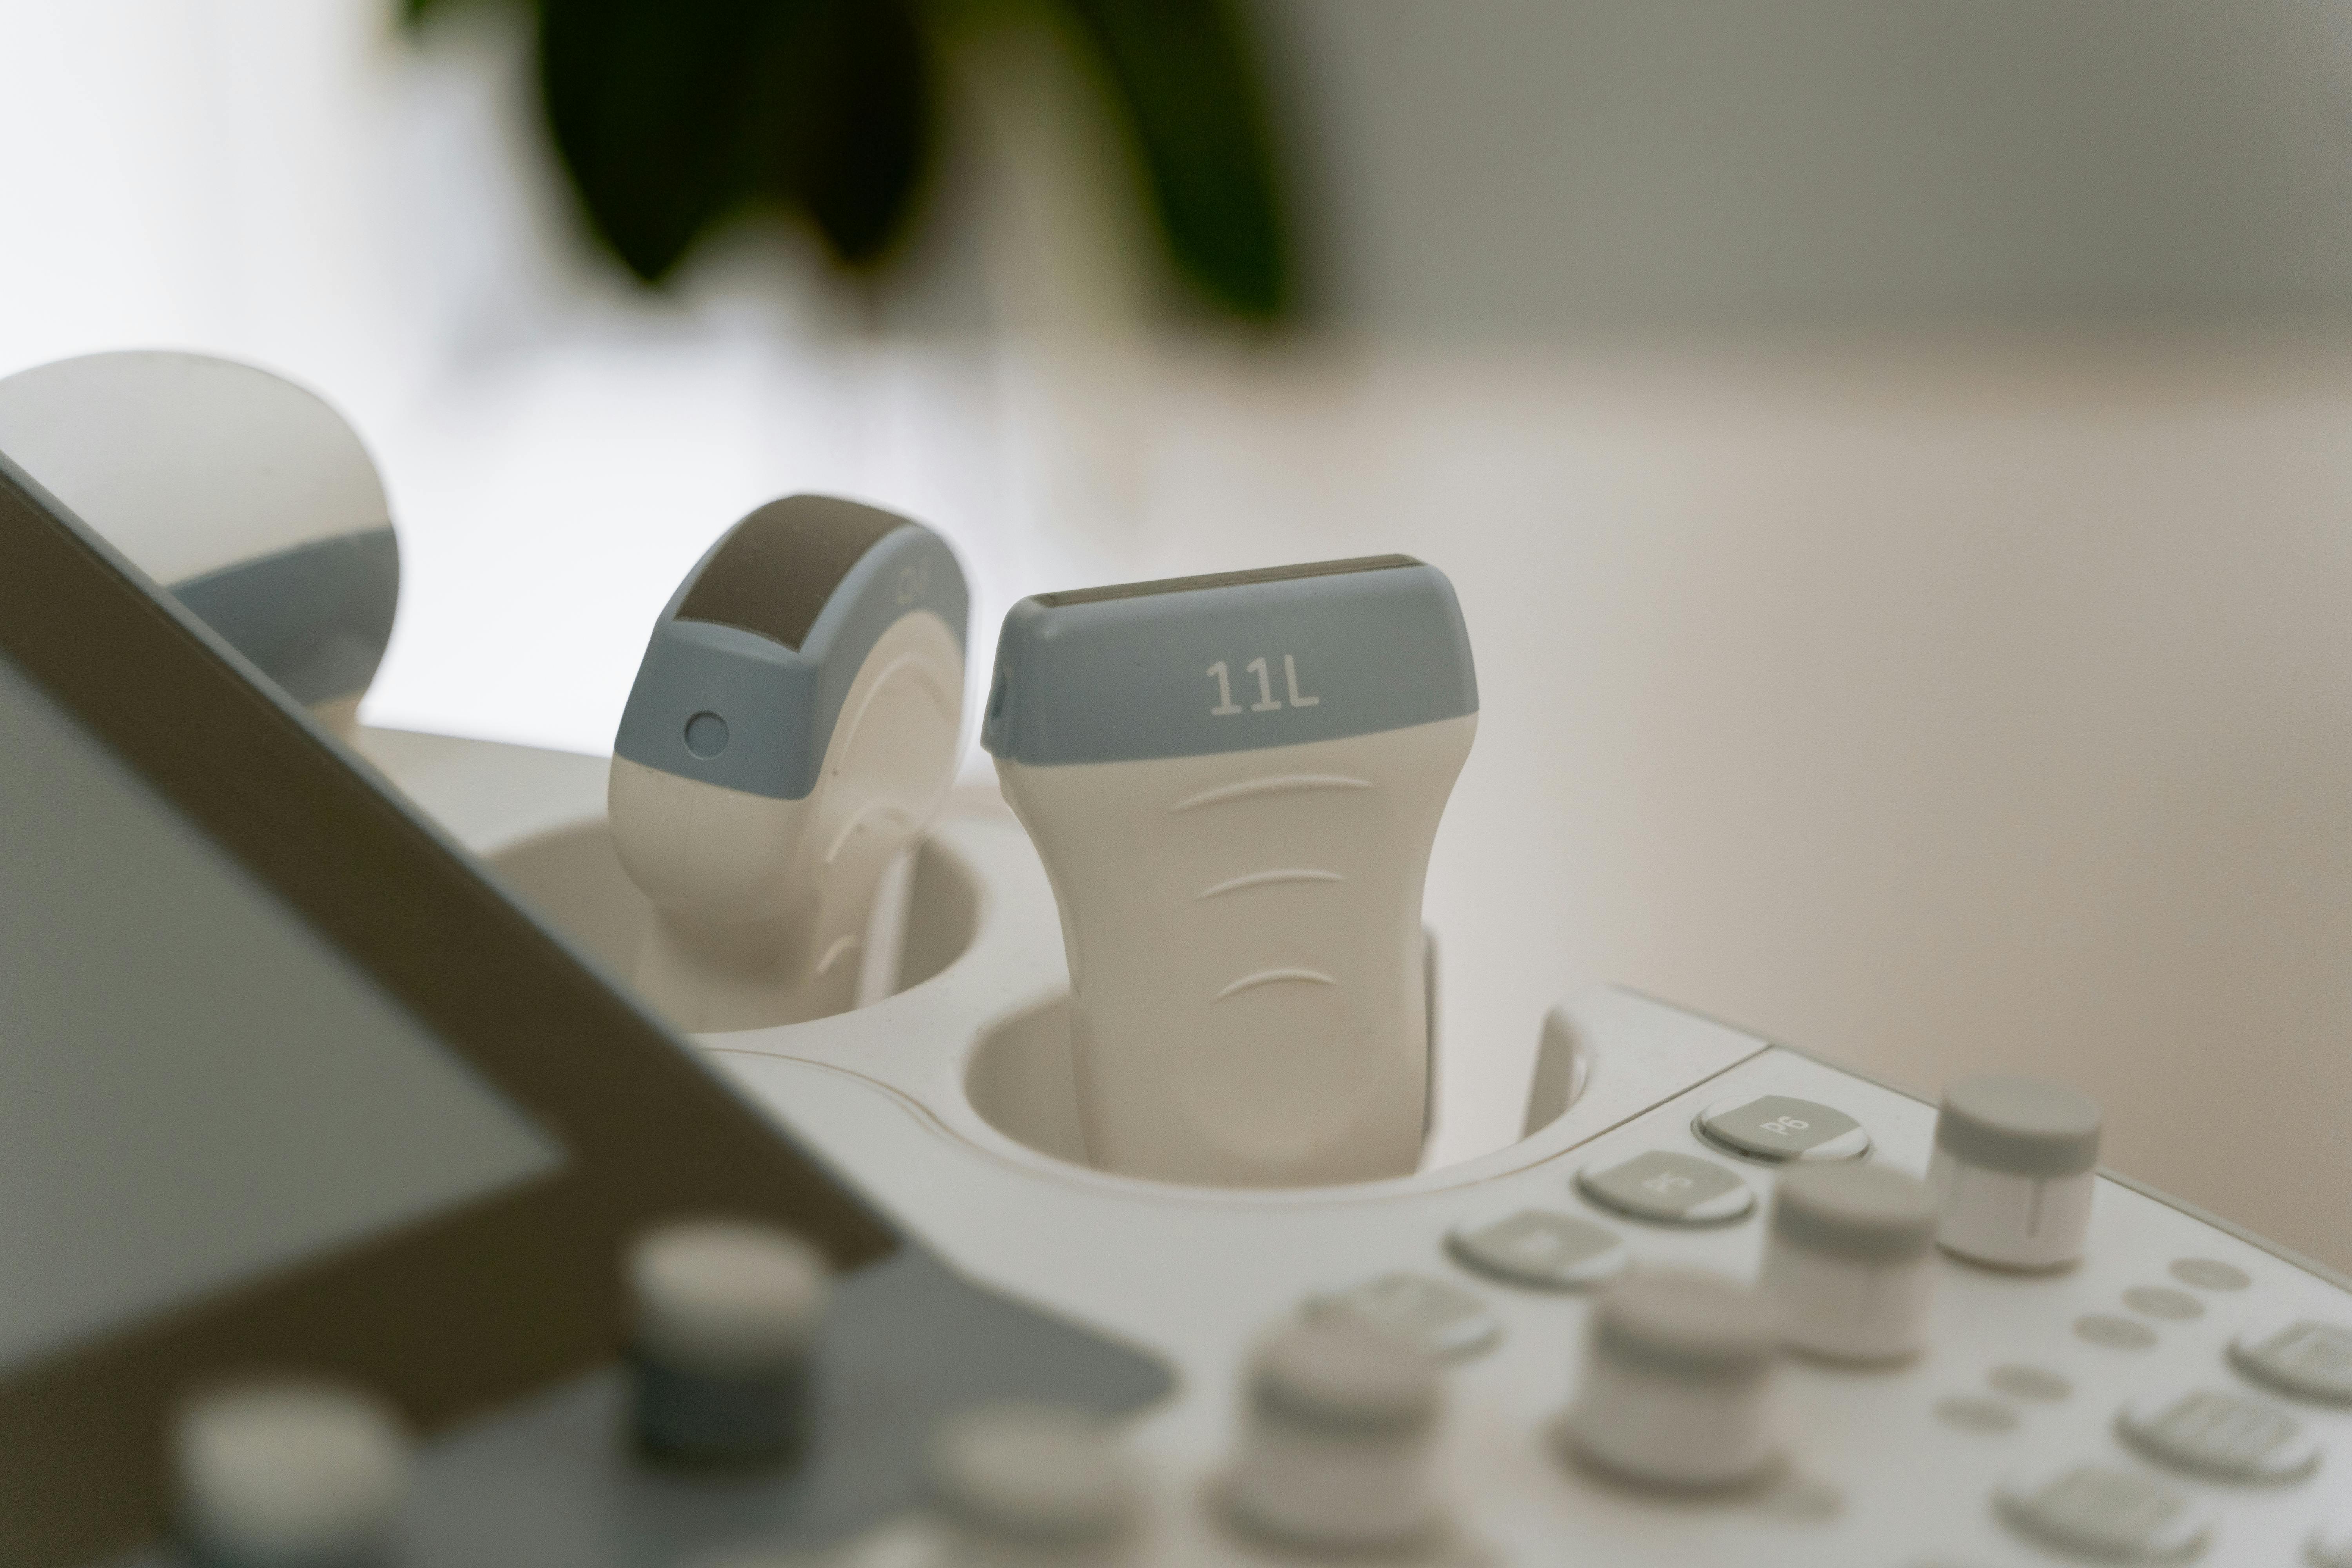
Probes represent the most failure-prone component, often due to cable fractures, lens delamination, or piezoelectric element degradation. Begin by isolating the probe through system disconnection and cable continuity testing using a time-domain reflectometer (TDR).
For cable repairs, strip damaged sections carefully, solder replacements with 30-32 AWG shielded wire, and apply heat-shrink tubing for insulation. Ensure impedance matching to prevent signal attenuation. When a probe is beyond field repair — such as extensive array damage or housing breach — sourcing a replacement TEE or surface probe with full OEM compatibility is often more cost-effective than attempting recovery.
Addressing Acoustic Lens and Element Failures
Lens cracks require epoxy reapplication after cleaning with isopropyl alcohol. Test post-repair with a needle hydrophone to verify focal zone integrity.
Dead elements in linear or phased-array probes necessitate partial array replacement or beamforming software compensation. Advanced techniques involve micro-soldering individual elements under magnification.
After completing any transducer repair, confirm these three acceptance criteria before returning the probe to service:
- Calibrate beam steering post-repair using angular resolution phantoms.
- Avoid exceeding 40°C during soldering to prevent piezo damage.
- Verify sensitivity drop is less than 3 dB after intervention.
Power Supply and Electronics Troubleshooting
Power supply units (PSUs) frequently fail from capacitor aging or rectifier diode breakdowns, manifesting as intermittent boot-ups or display flickering. Use the matrix below to narrow down the root cause before opening the chassis:
| Symptom | Likely Cause | Diagnostic Step | Repair Action |
|---|---|---|---|
| Intermittent boot / random shutdown | Aging electrolytic capacitors | ESR meter on all LV rails | Replace with high-temp, low-ESR equivalents (105°C rated) |
| Display flickering / horizontal lines | Ripple on DC output (>50 mV) | Differential probe on PSU outputs | Replace rectifier diodes; recheck ripple after repair |
| No power / dead unit | Open fuse or shorted MOSFET | Continuity test on primary side | Replace fuse; if blown again, trace short downstream |
| Image artifacts (speckle noise) | Unstable ±HV rails for transmit pulsers | HV probe on beamformer supply | Reflow solder joints on HV section; inspect for arcing residue |
| System freezes / DSP glitches | Firmware corruption or clock instability | Oscilloscope on clock lines; check PLL lock | Reflash firmware; replace clock crystal if jitter exceeds spec |
Replace capacitors with high-temperature, low-ESR equivalents rated for medical-grade operation (e.g., 105°C). Recheck ripple voltage (<50 mV) on all outputs using a differential probe. For systems with proprietary PSU modules that are no longer serviced by the OEM, aftermarket and refurbished power supply units can restore functionality at a fraction of replacement cost — provided they match the original voltage rails and connector pinout.
Printed circuit board (PCB) issues, such as cracked solder joints from vibration, demand reflow soldering with flux and hot air stations. Inspect high-voltage sections for arcing residue indicative of transmit pulse failures.
Before powering the system back on, always complete these safety checks:
- Power down and discharge high-voltage capacitors before handling.
- Test RF amplifiers for gain flatness across 1-15 MHz bandwidth.
- Update firmware if digital signal processor (DSP) glitches persist.
Software, Calibration, and Preventive Maintenance
Software glitches cause artifacts like ghosting; resolve by booting into recovery mode and reflashing OEM firmware via USB or network. Verify checksum integrity post-update.
Recalibration post-repair involves velocity-of-sound adjustments using tissue-mimicking phantoms and gray-scale linearity checks. Use automated software routines compliant with IEC 61391 standards.
Implement preventive maintenance schedules to extend equipment life. A well-run program follows this cadence:
- Monthly: Clean probes with approved gels and inspect cables.
- Quarterly: Perform full system diagnostics and archive logs.
- Annually: Replace thermal compounds and verify electrical safety (leakage <100 µA).
Log all interventions in a digital maintenance record for traceability and regulatory compliance.
Frequently Asked Questions
Q: When is a probe not worth repairing? A: If more than 20% of the array elements are dead, the acoustic lens has delaminated across more than half its surface, or the cable jacket is cracked in multiple locations, replacement is usually more cost-effective than repair. The repair cost approaches 60-70% of a new probe at that point, and reliability remains compromised.
Q: Can I use third-party capacitors or replacement parts? A: Yes, provided they meet or exceed the original specifications. For PSU capacitors, match capacitance, voltage rating, ESR, and temperature rating (105°C minimum for medical equipment). For transducer components, stick to OEM-approved parts — impedance mismatches in the signal path can degrade image quality even if the part "fits."
Q: How often should preventive maintenance be performed? A: Follow the schedule outlined in Section 4: monthly probe cleaning and cable inspection, quarterly full system diagnostics with archived logs, and annual thermal compound replacement with electrical safety verification (leakage <100 µA). High-volume departments (emergency, OB/GYN) should consider bi-monthly probe inspections.
Q: What is the most commonly overlooked failure point? A: Cooling fans. A seized fan won't always trigger an overtemperature alarm until the system has already sustained thermal damage. During every quarterly diagnostic, visually confirm all fans are spinning and listen for bearing noise — a $30 fan replacement prevents a $10,000 board repair.
Conclusion
Mastering these repair techniques minimizes downtime and upholds the reliability of medical ultrasound systems. Technicians must prioritize safety protocols, including ESD protection and biomedical compliance testing. Continuous training ensures proficiency amid evolving device architectures.
💡 Expert Insight: The most costly repairs are the ones you don't document. After every intervention, update the equipment's digital service record with the fault description, parts replaced, calibration data, and before/after phantom test images. A complete audit trail not only satisfies regulatory requirements — it builds an institutional knowledge base that makes every subsequent repair faster and more accurate.
📋 Need a replacement probe or hard-to-find PSU module? Browse geprobe's catalog of ultrasound probes, transducers, and power supply units — or contact our technical team for help matching a part to your system's exact model and revision.
Related Articles

Intermittent Ultrasound Faults: Why "Works Fine, Then Doesn't" Is Hard to Fix
Intermittent ultrasound faults are the hardest to diagnose. A field-tested method for reproducing, isolating, and safely returning the system to service.
Why Console Navigation That Gets Worse With Use Often Exposes Panel-Control Weakness Earlier Than A Hard Failure
Console navigation worsening with use? Learn to diagnose panel control board failure and make the right procurement decision—before someone suggests replacing the whole system.
Why A Drifting Keyboard Cluster Usually Points To The Shared Input Path, Not Five Bad Keys
Keyboard keys failing in groups point to a shared input path problem, not bad switches. Learn when a keyboard assembly purchase beats chasing individual keycaps.